Every few years, you’ll have to do that thing you swore you’d never do again: migrate your site to a new platform. Whether it’s moving from Drupal 7 to Drupal 8, or moving to an entirely new content management system because you need new features, the site migration process takes time and energy. But with planning, it can go more smoothly.
Beyond the technical aspects of any migration, there’s a lot to think about with your actual content.
Step 1: Content planning
The more upfront work you do, the easier the migration will go. These tasks can be done while your development team is building the new site. Here are some planning steps you’ll want to undertake:
- Content inventory: Document pages of existing site in a spreadsheet, noting images and files. You have to know what you have before you can figure out how to move it.
- Site map: Create a site organization for the new site. It may be the same as the old one, but rethinking your site map allows you to adjust the organization of content to better meet the needs of your users now versus a few years ago.
- Content matrix: Match existing content to new pages. This is an opportunity to identify needs for new content — and get rid of old and duplicative content. This can be done in a spreadsheet or Airtable.
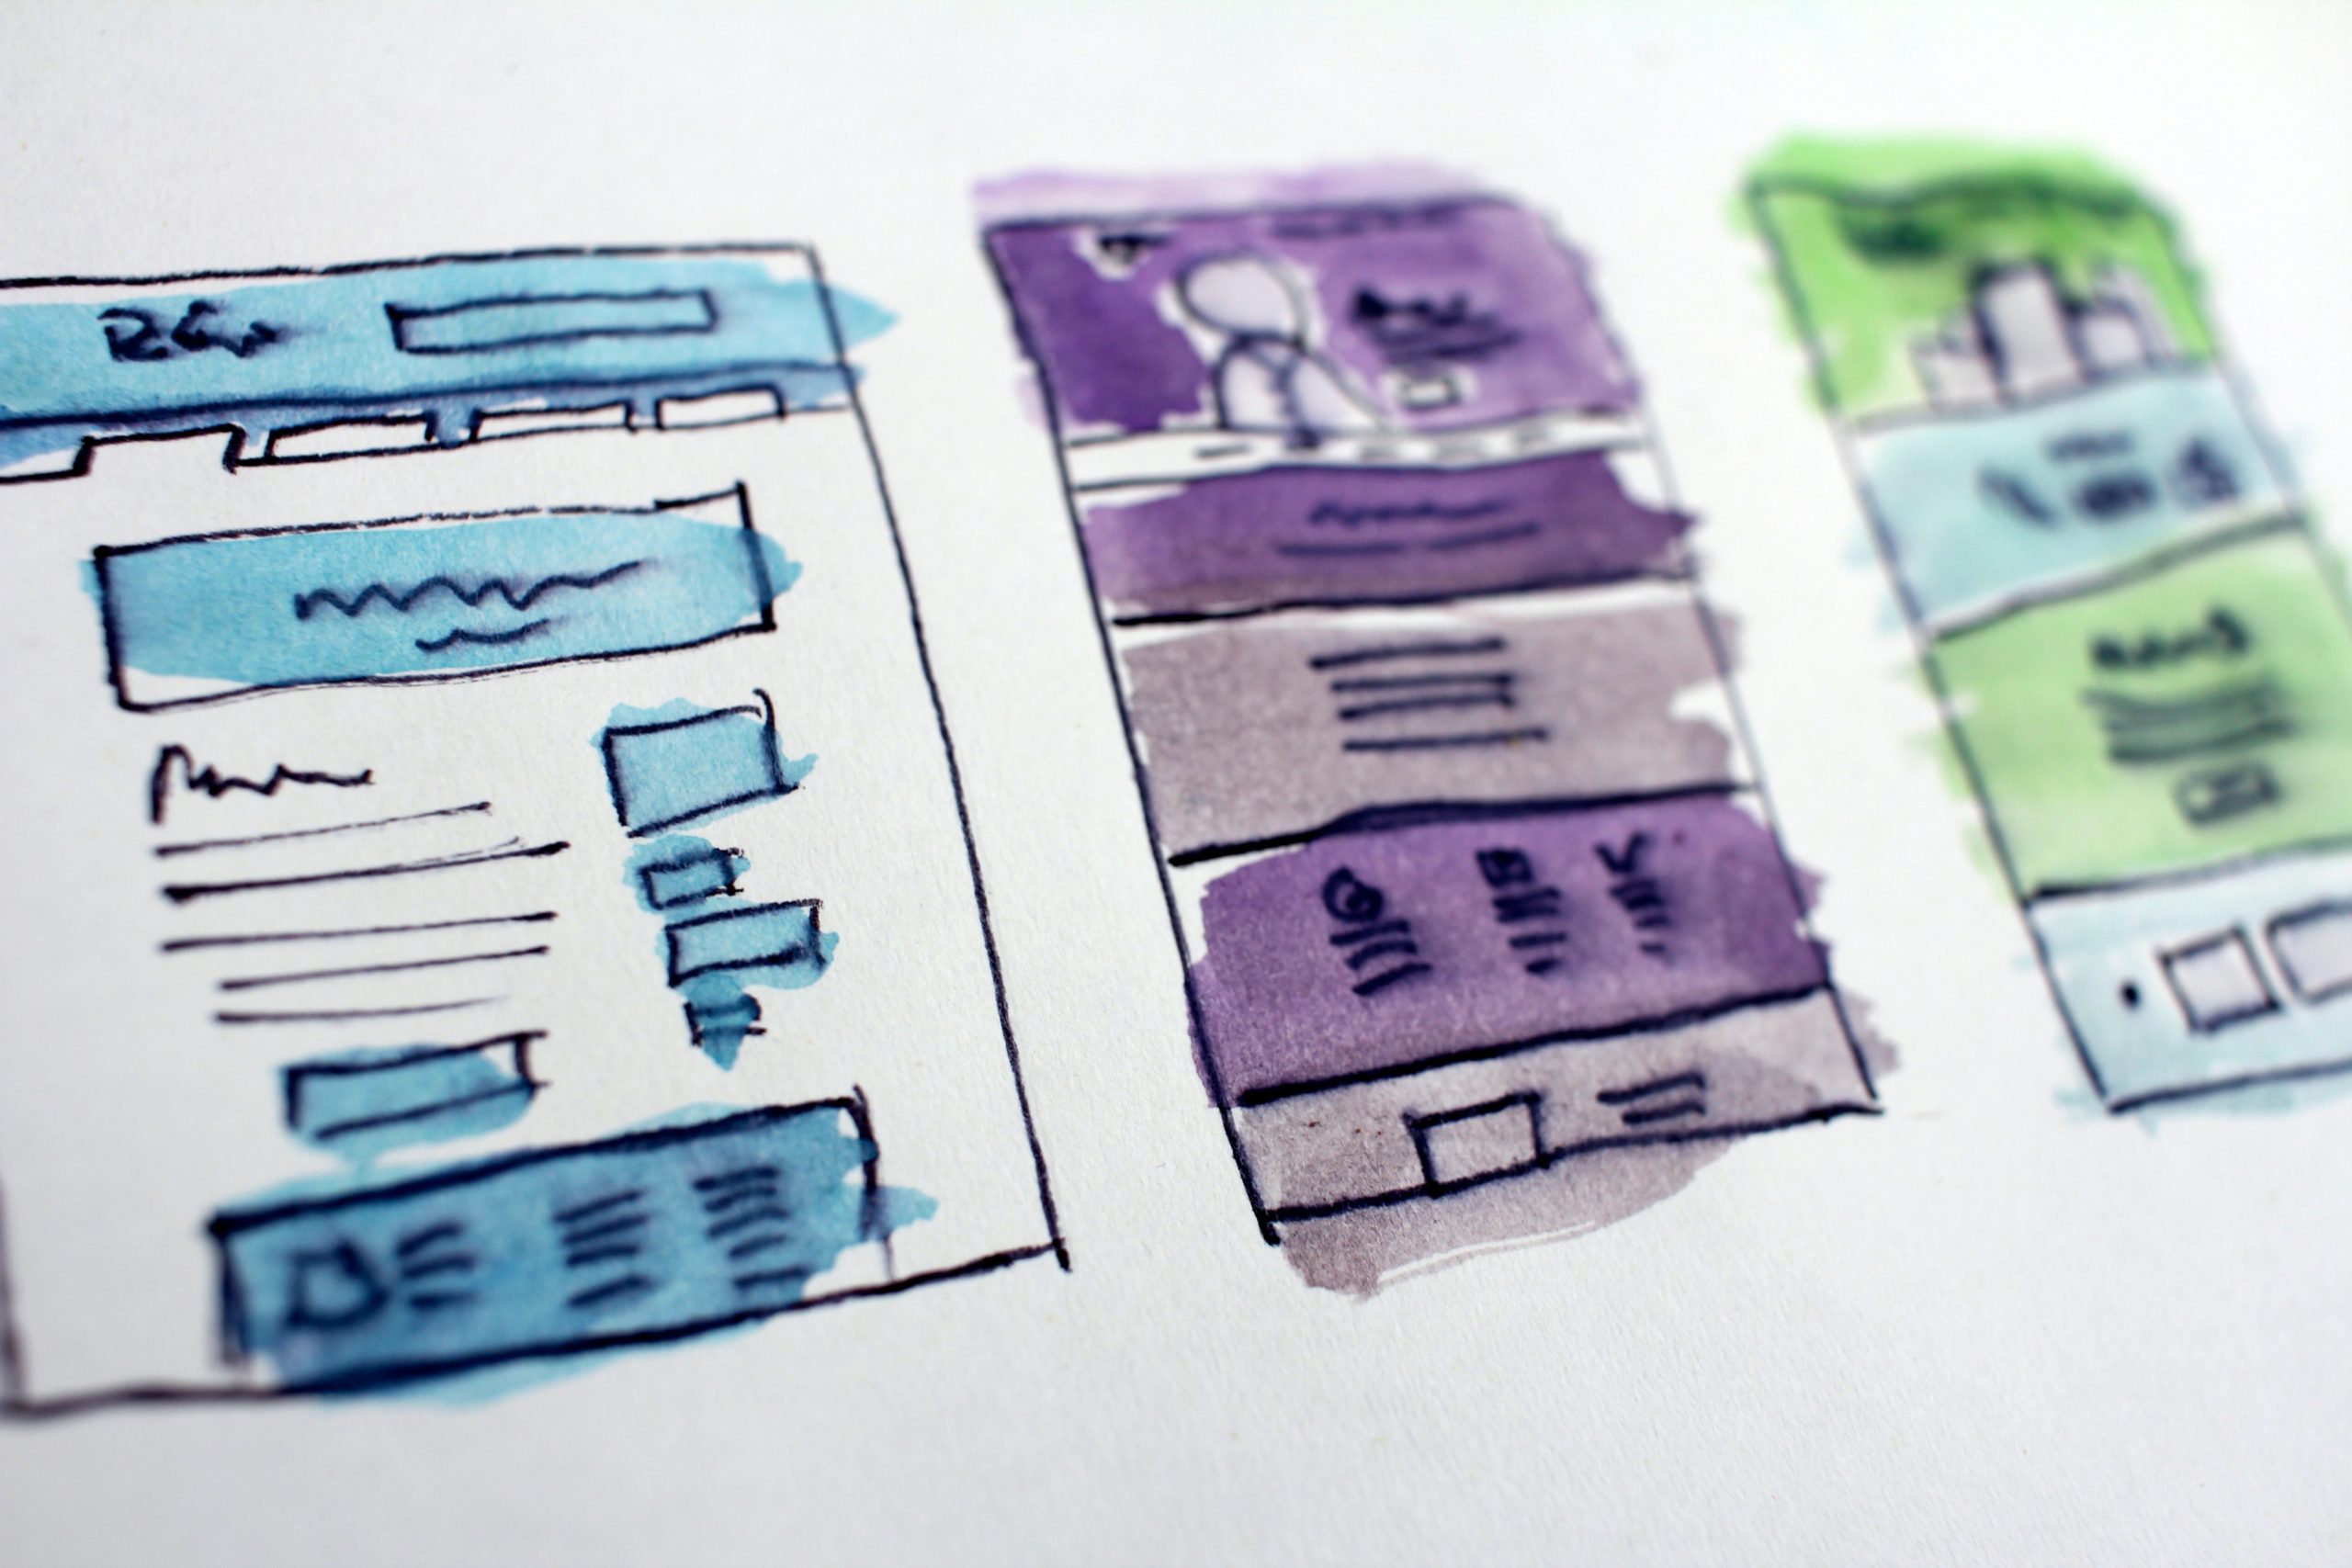
- Wireframes: Sketch out your home page, landing pages, and select other pages to identify how to use the functionality available in the content types. This can also help you identify where there are disconnects between the content and functionality on your current site and your new site.
Step 2: Content migration
Once you’ve got the shell of the site in hand, you can start moving content. Give yourself plenty of time in your project plan for this part — it may take longer than you think!
- Create blank pages for all content identified in the site map first. This allows you to link between pages even if they are complete.
- Save all the images, PDFs, and other assets you’ll need to recreate pages.
- Copy and paste the content from the old page to the new one. This is where your content matrix comes into play. It should tell you exactly what content from the old site goes on the new page.
- Depending on how closely your new site CSS matches your old one (and how clean your HTML is), you may be able to copy the source code, which will save you some time in reformatting. Unfortunately, it’s not always the case that this will work. You may need expertise in HTML to get the results you want.
Step 3: Content QA
Now you’ve got a new site full of useful content. But before you release it out into the world, spend the time to make sure every works.
- Check and fix all links. You can use various online tools or applications for this. (Make sure you used relative links so you’re not linking to your dev server – links to your dev server will break when you go live!)
- Create redirects from old pages to new ones. This is key to maintaining search engine optimization. The content matrix again comes in extremely handy during this process.
- Visually review each page for issues. One last scan ensures you’re publishing a professional-looking site that meets your brand standard.
The content migration process is time intensive. We’re here to help with you move your site — we’ve been through the process dozens of times with our clients. We’re happy to help. Contact us for more information.
